The UK’s highest peak, climbing Ben Nevis had been on my bucket list for a looooong time!
And finally, this summer, I made it to the top!
Located in Scotland, in the beautiful West Highlands, Ben Nevis makes for the perfect one day hike.
To get there I travelled to Glasgow with a group of friends and then on to Fort William, from where Ben Nevis is most easily reachable.
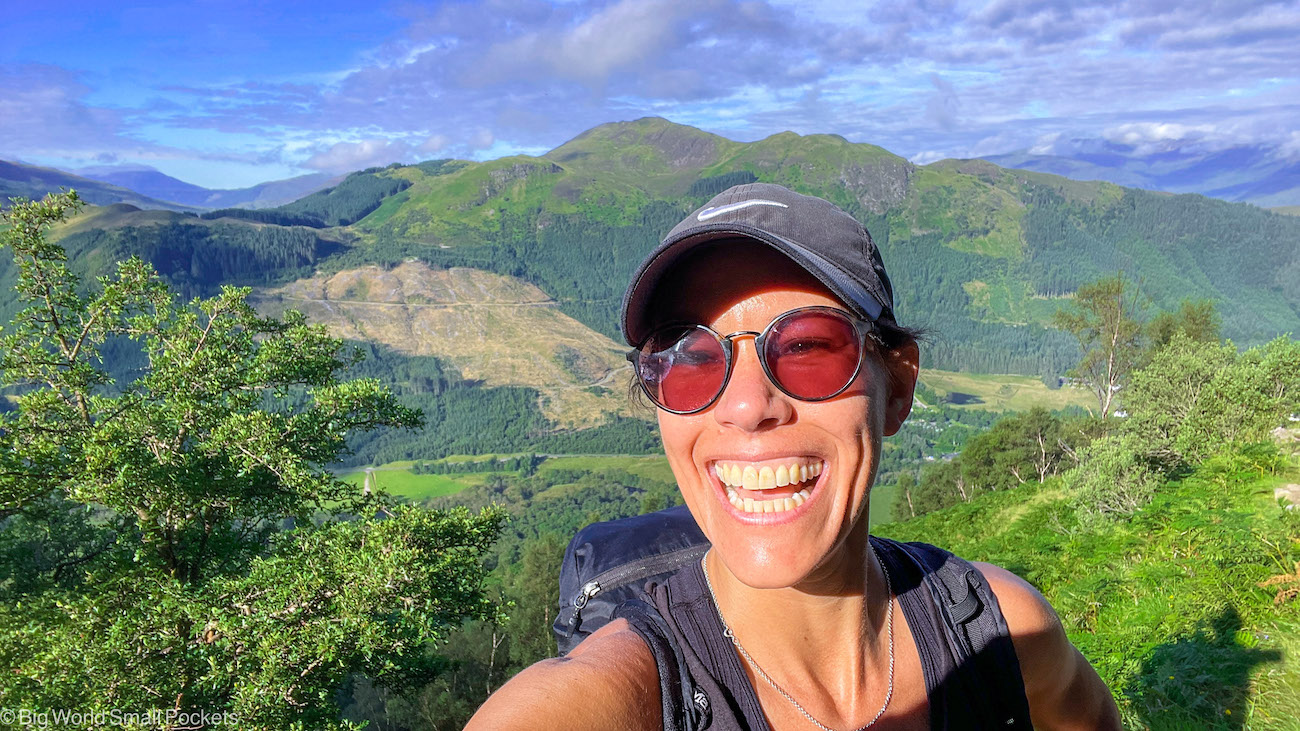
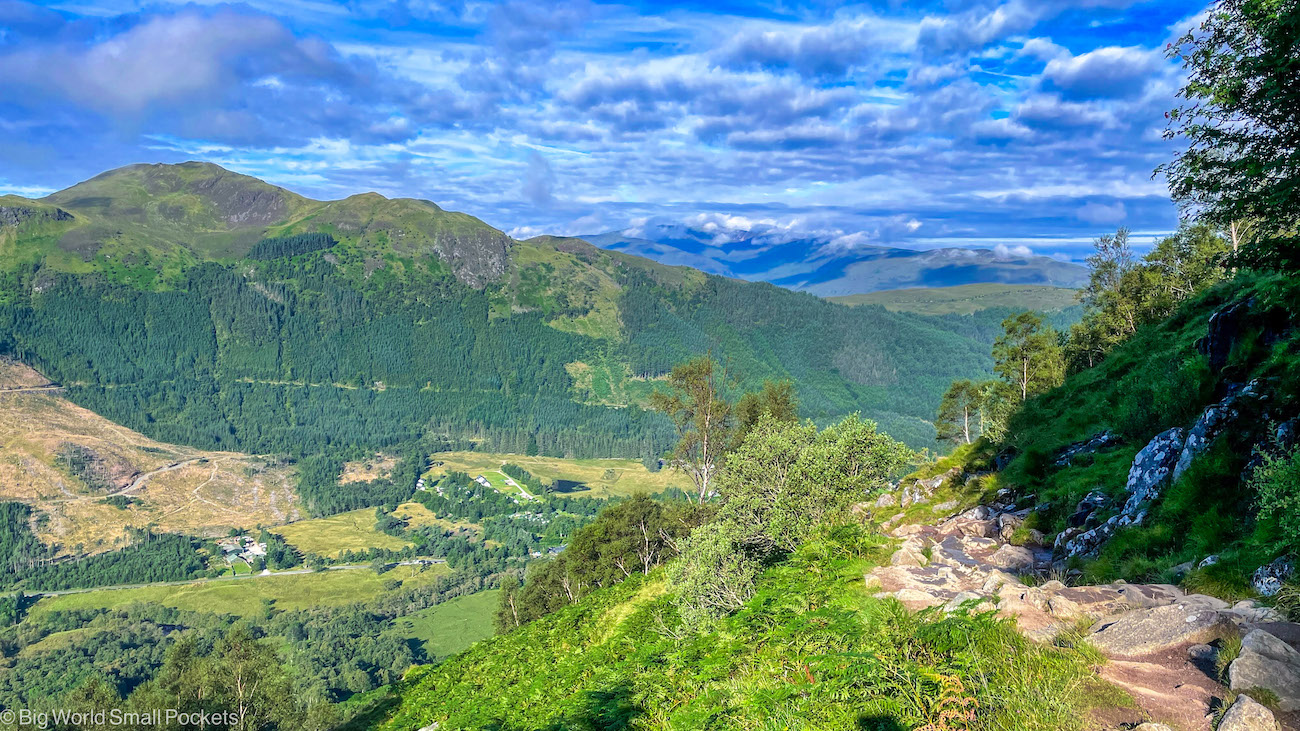
We woke up to the most gorgeous blue sky day and knew we were set for an epic hike!
So read on to learn everything I learnt (and you need to know) about summiting Ben Nevis, including how to get there, which route up this mountain to take, what you need to prep and pack and where to stay during your trip.
It’s time to get stuck in…
Related Posts
- Top 15 Attractions to Visit in Glasgow
- How to Travel from Glasgow to Fort William
- 10 Best Places to Stay Near Ben Nevis
This page contains affiliate links meaning Big World Small Pockets may receive a small commission on any purchases at no extra cost to you.
Ben Nevis Climb Basics
First up, it’s time to get stuck in with some Ben Nevis facts.
Once a massive volcano, “The Ben” (as this peak is often referred to), rises some 1345m above sea level.
The highest peak in Scotland, as well as across the British Isles, Nevis lies on the western edge of the Grampian Range in the Western Highlands.
But despite its rural location, this rocky giant is pretty popular, with an estimated 130,000 ascents taking place annually… so don’t expect the place to be crowd-free when you go!
There’s several different routes you can take to climb Ben Nevis – more about this later – and almost all start from the Ben Nevis Visitor Centre in Glen Nevis.
Glen Nevis is a short distance from the town of Fort William, which is the best place to base yourself for the climb, and also makes a great access point for wider exploration of the Western Highlands.
No question that certain times of the year are better to make the ascent of Ben Nevis than others.
Indeed I cannot impress on you enough how much checking the weather and forecast is critical before you start your climb.
Things can get very dangerous out here, very quickly, especially if you are ill-prepared or inexperienced, so always do proper research and ensure you come dressed and prepped for the task.
Just enter your details below and I'll email it to you - simple!
Information will be sent to the email provided above
Ben Nevis Weather Conditions
The key thing to consider when planning your Ben Nevis hike is the weather conditions.
These need to be checked both 48 hours, 24 hours and on the day of your intended hike, even in the summer.
You can check the latest forecast online here, at your accommodation, or at the Ben Nevis Visitor Centre.
Do not attempt to hike in adverse conditions – you will absolutely regret it and, more than that, it can be incredibly dangerous.
People do lose their lives on Ben Nevis and Mountain Rescue are reporting more and more cases of people attempting this hike without being prepared for the weather and conditions.
Don’t be one of them!
If you are, your chances of survival can be greatly increased by ensuring you have notified your accommodation of your plans for the day (so that if you don’t return they know why), and by storing the phone number for Mountain Rescue in your mobile.
I also suggest downloading and making use of the What3Words app, as this will give your precise coordinates if you do need to contact the emergency services for any reason.
When to Climb Ben Nevis?
To make it crystal clear, I would absolutely not advise hiking Ben Nevis during the winter months between November and March.
That’s because, at this time of year, you really risk encountering snow, freezing temperatures and worrying storms that make climbing this giant very dangerous.
Indeed lack of access, covered trails, dangerous snowstorms and an inability to see, plus the high possibility of getting lost, make climbing Ben Nevis during the winter months very dangerous.
As such, I’d only attempt this hike between the months of April and October.
Given how far north you are here in the UK, even during these times of year, the weather can be wet, windy, cloudy and overcast, not to mention cold.
If you want to punt for the best weather, June through August (aka summer), are the best time to hike Ben Nevis.
I made the climb in August and was really glad that I did because, even at this warm time of year, it was really cold up at the summit.
The only counter-argument for walking up The Ben in summer is that a) the crowds will be thickest and b) the midges!
Yes if you weren’t in the know, the midges in the Scottish countryside are a real thing… and it’s not nice!
Thankfully, we only encountered midges during a small section of the ascent – they seemed to collect at a certain altitude and didn’t exist above or below that.
Weirdly, on the way down The Ben, the midges had disappeared, so it’s certainly hit and miss / impossible to predict. I guess the wind, or lack thereof, has a lot to do with it too.
Whatever time of year you plan to climb Ben Nevis, do make sure you are sufficiently fit (I definitely advise some training in the weeks prior if you’re not) and also make sure you download a map of the area that works offline.
Maps.me or AllTrails are my recommended apps when it comes to downable maps that will work without a wifi or data signal connection.
How to Get to Ben Nevis?
So now that we’ve covered when to climb Nevis, it’s time to talk about how to get there.
As I mentioned in the intro, the nearest town to Ben Nevis is Fort William.
This is where I recommend basing yourself before and after your hike, as there’s plenty of accommodation options here, along with amenities including supermarkets, cafes, banks, pubs and shops.
And, most important, there’s a train station here, which also makes reaching Fort William easy if you’re travelling on public transport as my group were.
But how to get to Fort William?
Well, the train to this town arrives from Glasgow, so the first thing you need to do is get yourself to this Scottish city.
Glasgow is accessible easily via train from around the UK (I always use Trainline to book my UK rail tickets) and by air too, thanks to a domestic and international airport.
When it comes to booking plane tickets to Glasgow, I always use Skyscanner to find the best prices.
And once you arrive in Glasgow, you can then catch one of the 3 daily rail services to Fort William.
Learn more in this article I wrote all about how to travel from Glasgow to Fort William.
Otherwise, you can also hire a car in Glasgow and drive to Fort William (which takes roughly 3 hours).
Cars can be rented from Glasgow airport or the city centre, find a great deal here.
Otherwise, you can also fly to Oban and from there drive to Fort William – Oban is closer than Glasgow, but it’s a much smaller, domestic airport.
Where to Stay?
I suggest arriving into Fort William the day before you plan to climb Ben Nevis – this will allow you to settle into your accommodation, get any supplies you need and then get a good night’s sleep, allowing you an early start in the morning – a very good idea!
I’d also recommend staying the night in Fort William directly after your hike – it’s unlikely, after such a momentous climb, you’ll want to go far afterwards, except maybe to the pub!
But where to stay in Fort William?
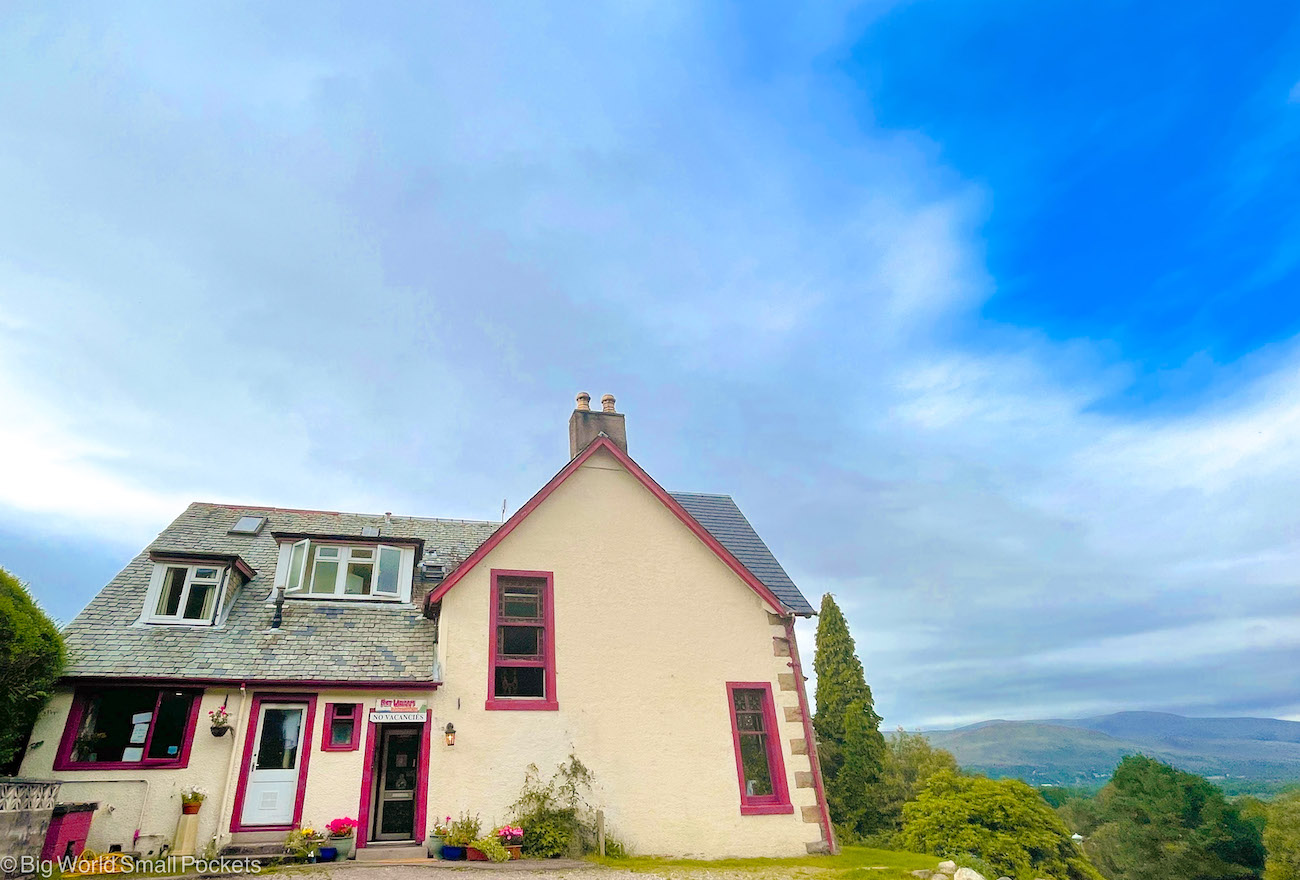
As a budget traveller, I stayed in Fort William Backpackers, which was a great choice and comes highly recommended for solo travellers, as well as groups.
With a guest kitchen, comfy dorms, a lovely lounge area with a roaring fire and a cute garden with stunning views, this converted period house is the perfect place to bed down on a shoestring.
If you’re looking for something a little more private however, then there’s a huge range of guesthouses and hotels in Fort William (as well as campsites).
Check out my list of the 10 spots to stay here for more top picks.
Ben Nevis Visitor Centre
Once you’ve reached Fort William and spent the night, it’s time to get up early to begin your hike.
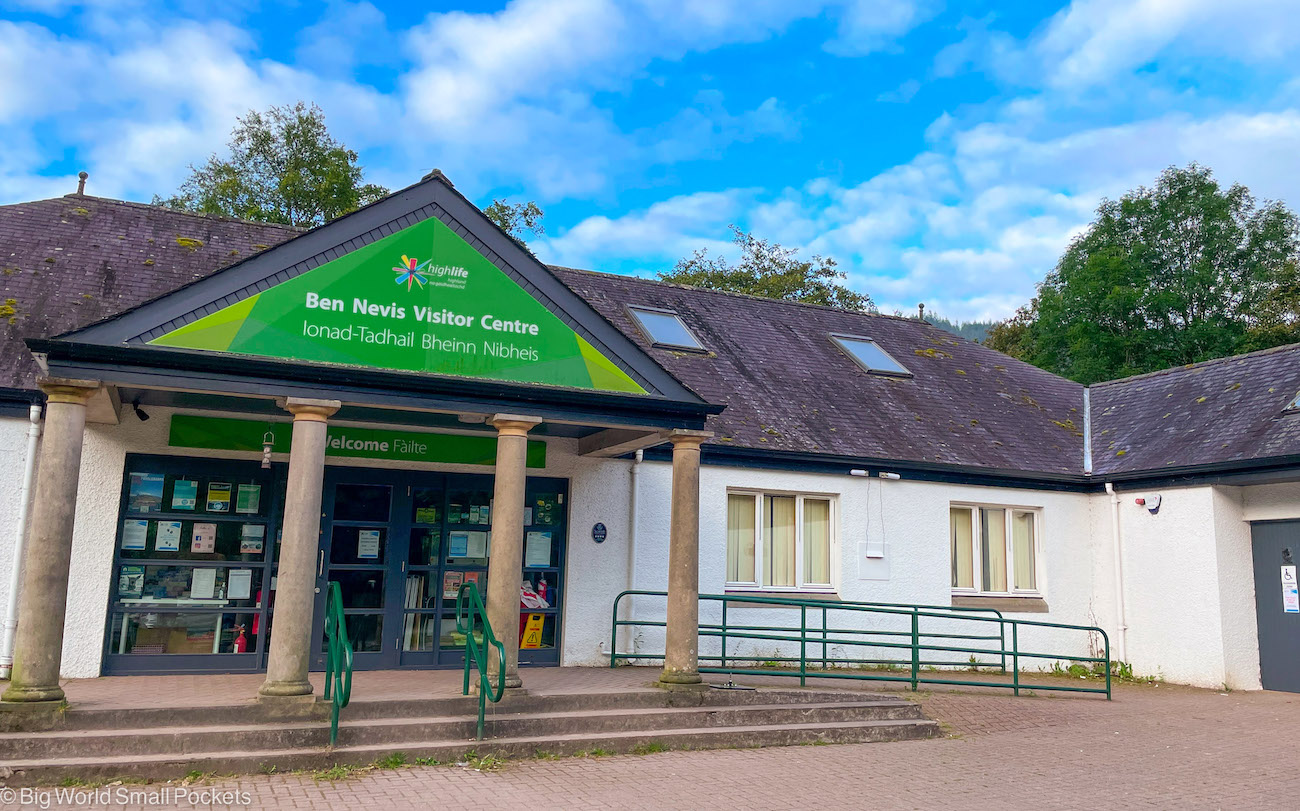
The best place to head for early is the Ben Nevis Visitor Centre, which lies approximately 3km from the centre of Fort William.
It’s worth noting that this centre used to be called the Glen Nevis Visitor Centre, but changed its name in 2015 to the Ben Nevis Visitor Centre.
Don’t get confused, they are now the same place!
The postcode for your sat nav is PH33 6PF.
To get here from Fort William, you can either take a taxi, walk, drive or get the summer bus which operates 5 times a day and costs £3. The journey takes 25 mins.
Once at the visitor centre, you’ll find parking for 80 cars (although you’ll need to be early to grab a spot), along with toilet facilities, a small gift shop and lots of information about hiking routes and the forecast, as well as Ben Nevis itself.
Parking needs to be paid for.
This operates on a pay and display basis and details are given in both the car park and visitor centre.
Parking can be paid for using contactless card, but sometimes this isn’t working, so bring cash too just in case.
If you haven’t done so already, now is also the time to download a map of the area, and the trail you wish to take, onto your phone – this may be the last signal you get!
Ben Nevis Routes
Once you arrive at the Ben Nevis Visitor Centre, it’s time to choose your Ben Nevis route… if you haven’t already.
The route you will take requires careful consideration, so please bear not only your fitness and experience in mind, but also the weather.
Conditions can change quickly up in the highlands, especially near the summit, and can easily become treacherous.
Consult your accommodation for a local forecast the day before and check the Visitor Centre on arrival too for the latest updates.
There are 2 main routes I suggest you choose from if you want to climb Ben Nevis, here’s the details…
The Mountain Trail
This is the easiest and most popular route to the summit.
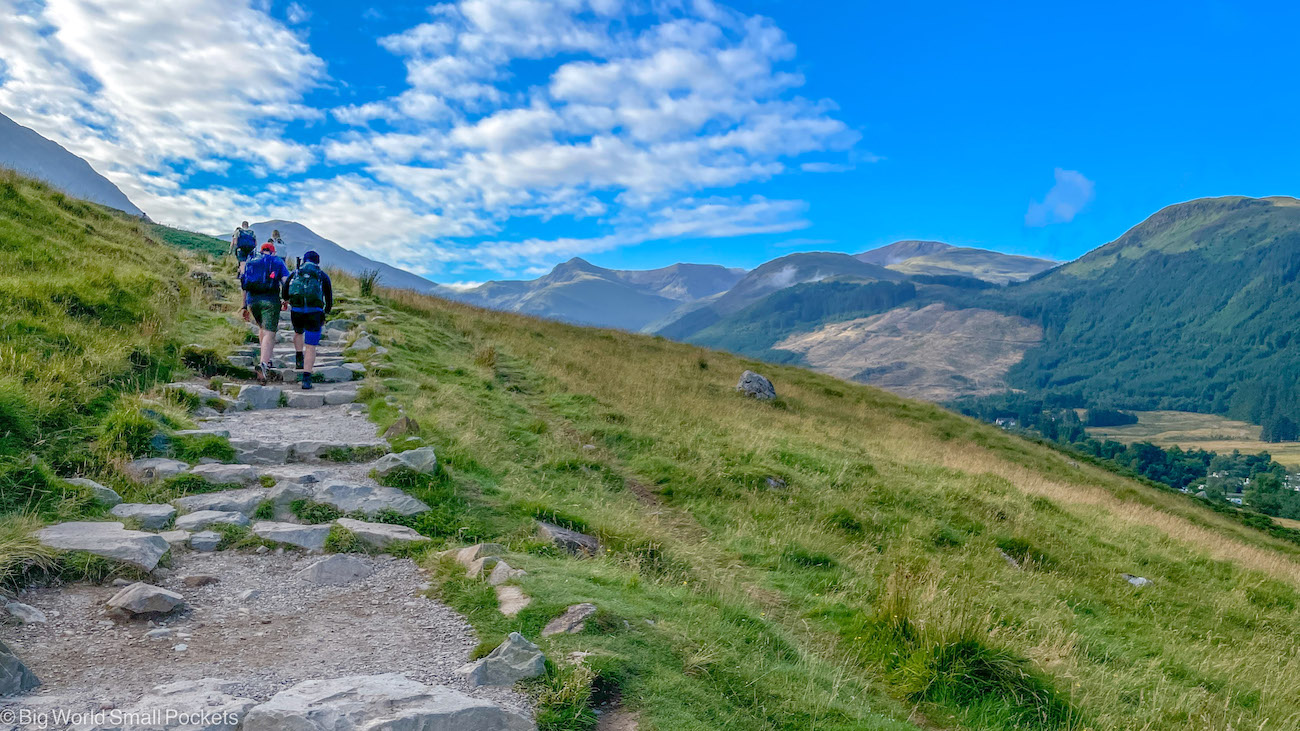
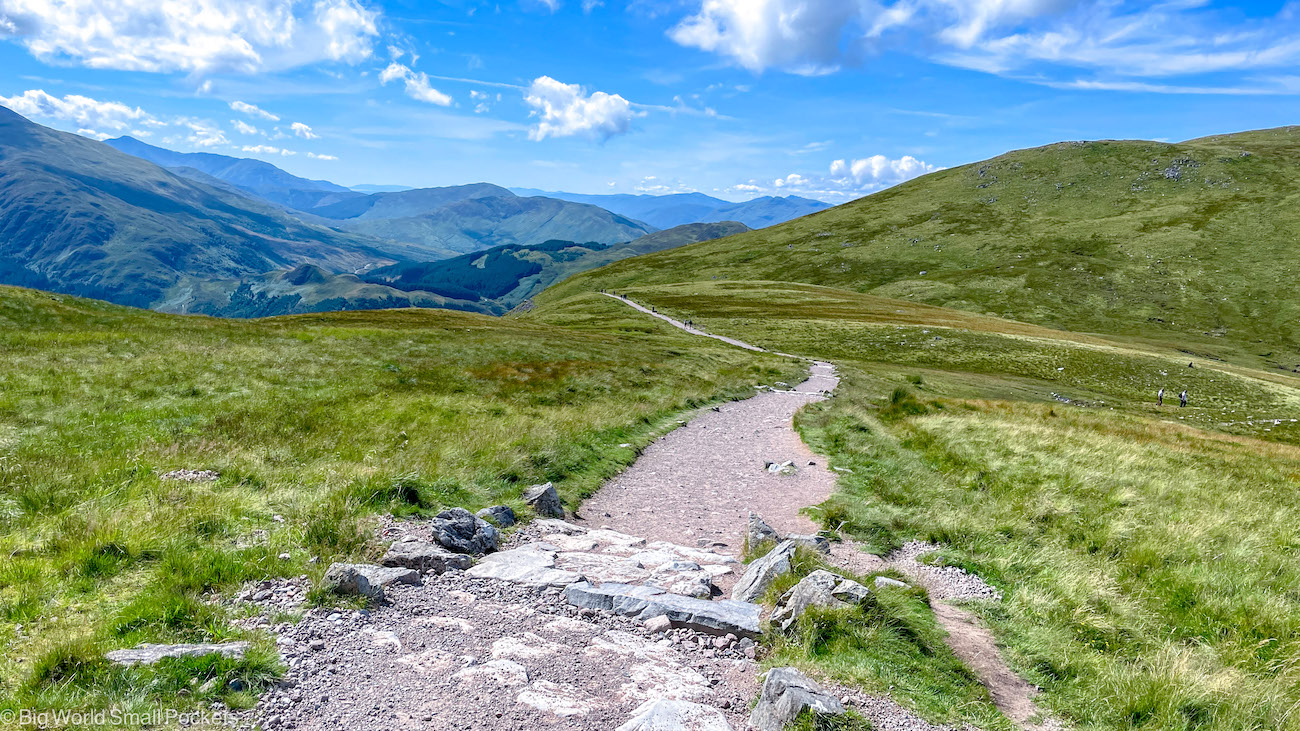
It leaves the visitor centre via a well-marked trail that is easy to follow in good weather conditions.
Despite the fact that there’s no signage, if visibility is good, you won’t need a map for this guy, just follow the single trail and the crowds!
The ascent takes around 4 hours on the way up and 3 on the way down if you have a reasonable level of fitness.
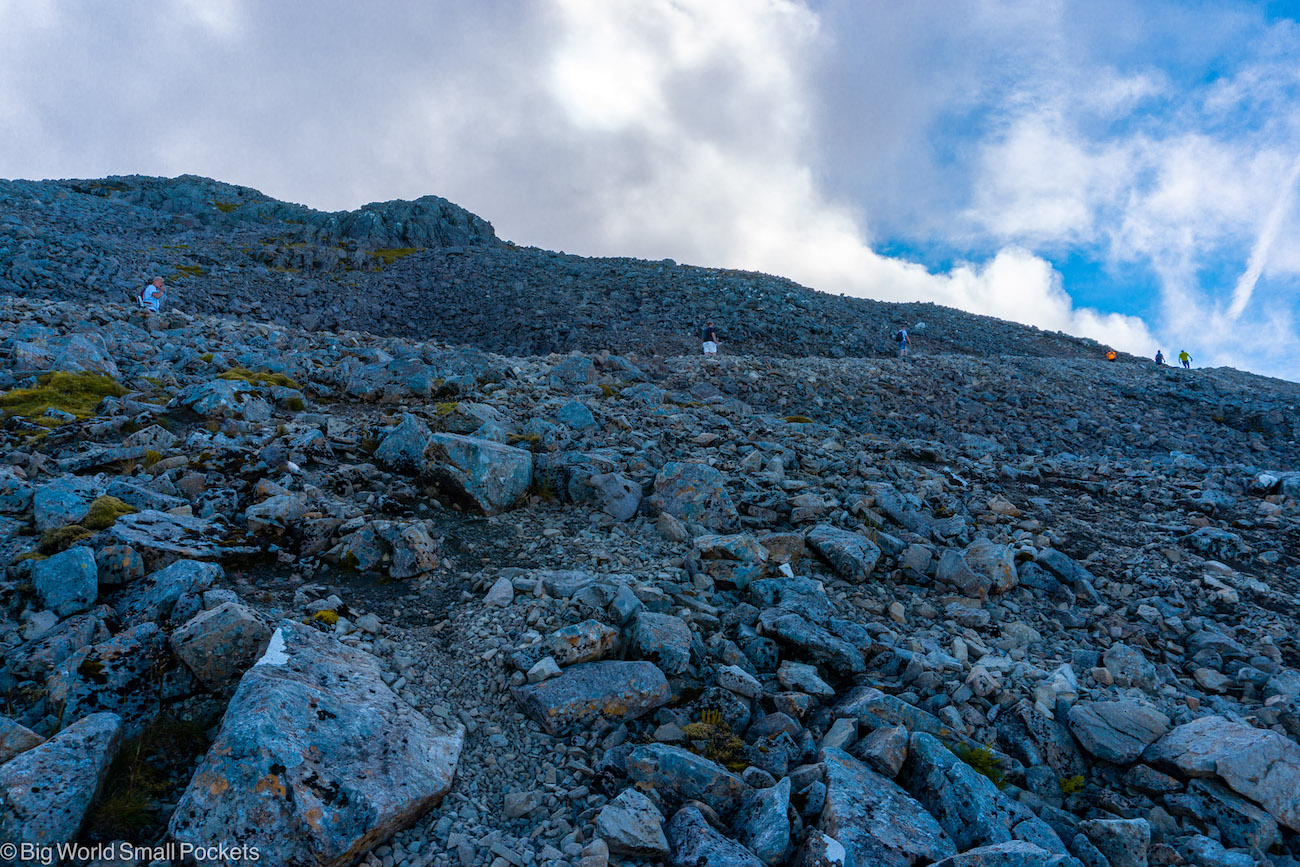
The terrain is generally easy and good, although becomes a bit loose near the summit.
You’ll still need to wear good hiking shoes though – I really suggest boots like these for the job.
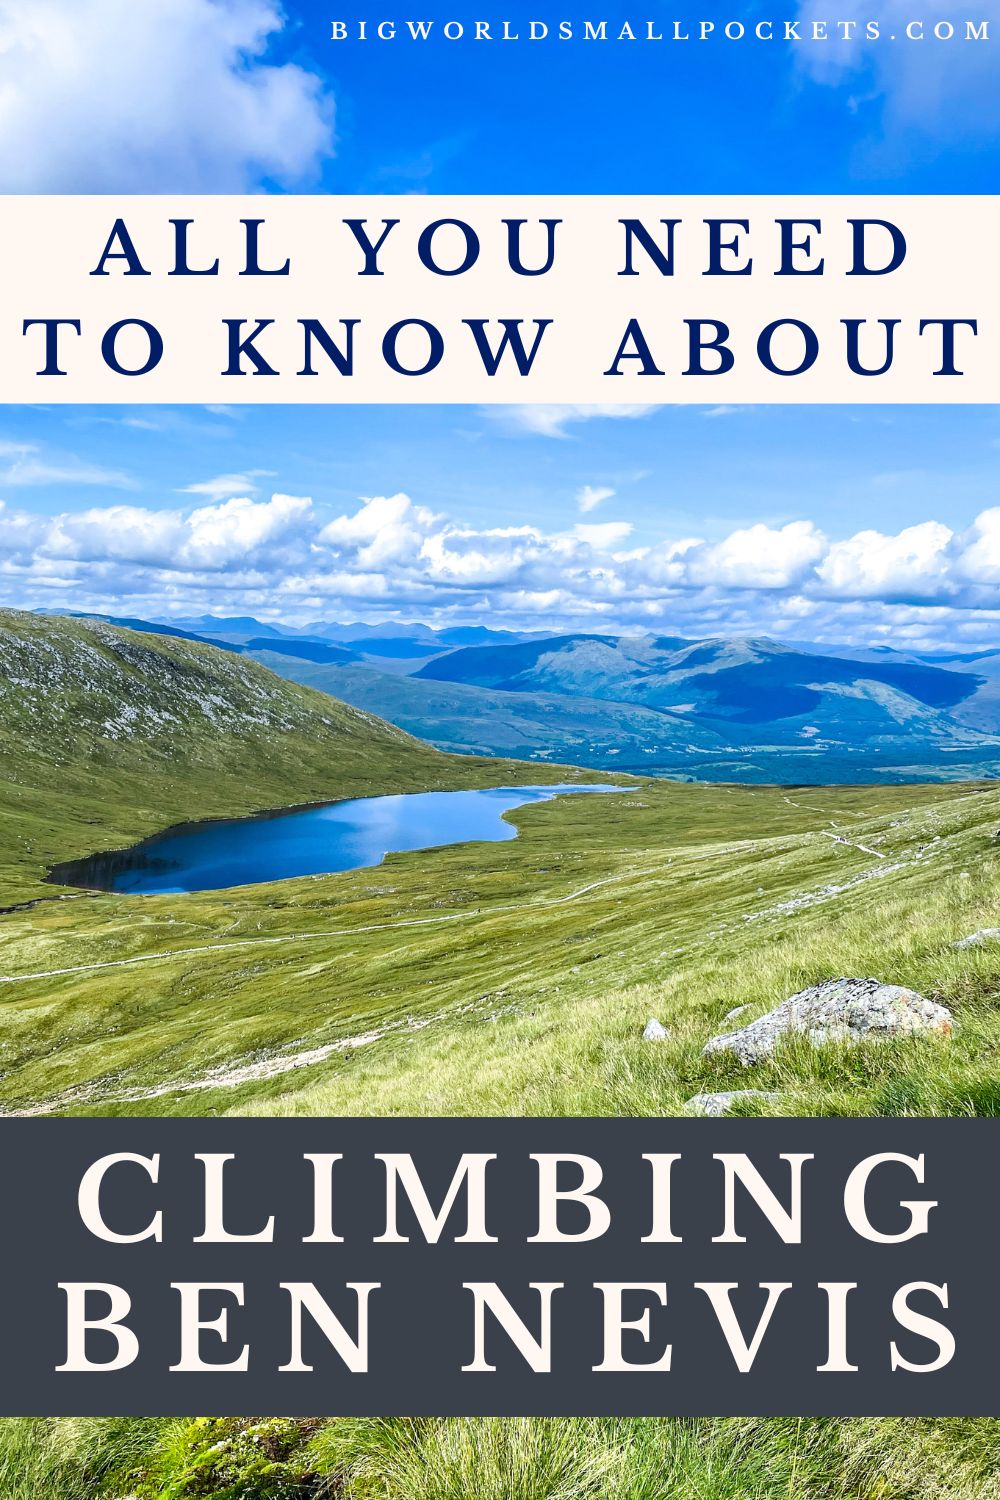
The main thing you need to be aware of on the Mountain Trail, is the junction after the dark water lochan. Here you need to fork right.
It’s worth checking in with the weather at this point – it’s only likely to get worse as you ascend from here, so do ensure conditions are safe.
If they are good, and you feel comfortable and confident, you should be ok to proceed – things get tougher from here too i.e. steeper, so be prepared.
When it comes to the return journey, you’ll follow the exact trail back down, which actually takes a fair amount of time because it is so steep in part – allow at least 3 hours.
You’ll return to the Glen Nevis Inn (not far from the Visitor Centre) – the perfect place for a celebratory pint!
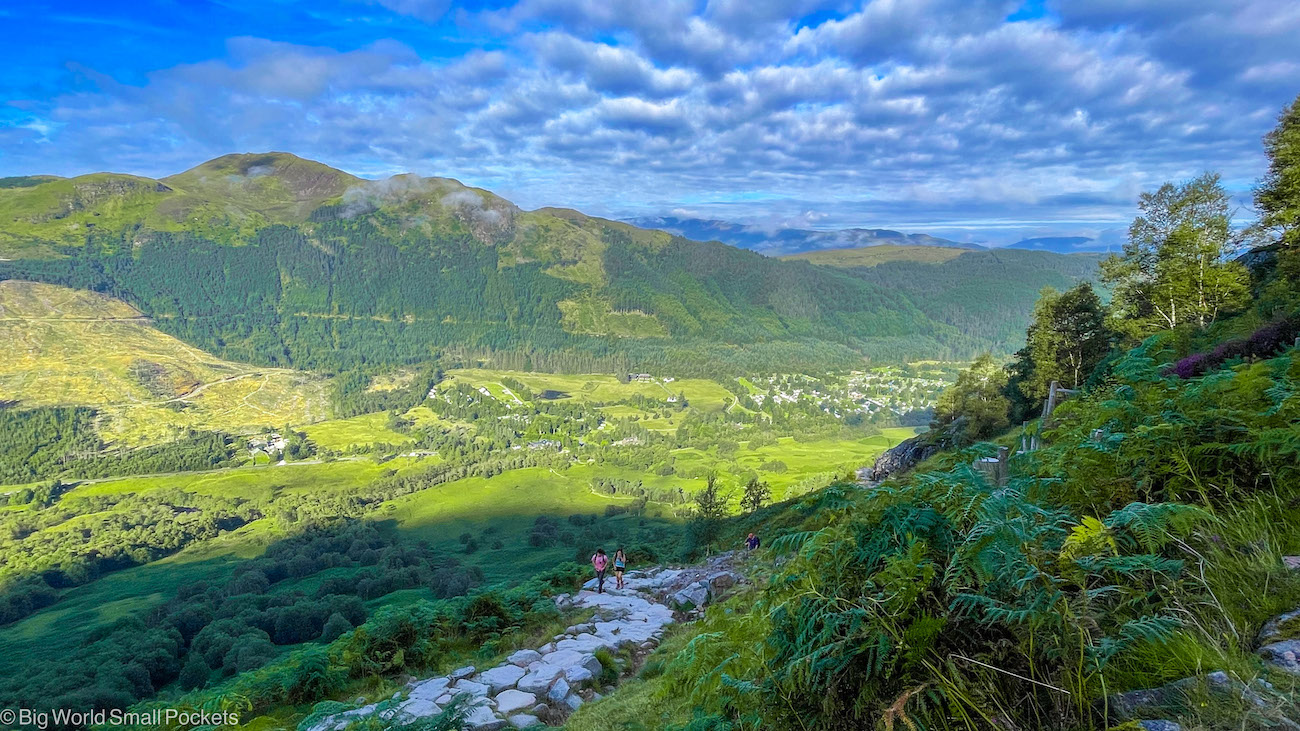
Overall, despite being the so-called “tourist trail”, the Mountain Path still makes for a great hike and some of the views you’ll get on a clear day are spectacular.
The North Face Trail
First word of warning, this trail is for experienced hikers only. There is some scrabbling involved and it’s a long hike that took some in our group up to 10 hours to complete.
It’s exhilarating, but not for the faint-hearted or inexperienced, so don’t let your ego get the better of you, this trail is no joke.
If you are equipped for the challenge however, then initially you’ll follow the same trail as the Mountain Path from the Ben Nevis Visitor Centre, forking left after the small lake.
Do not attempt this trail in snow or ice, as there is some scrabbling involved and it’s likely you’ll slip and fall.
In general, the path is clear for most of this trail and you’ll encounter mixed terrain and some stunning views.
The trail does get unclear as you head towards the summit however, so do ensure you have a downloaded map (sources mentioned earlier) that will help you avoid getting lost.
You’ll reach the summit of Ben Nevis from the other direction that those taking the Mountain path will (and it will also take you a lot longer to get there – think 6-8 hours, depending on stops, so don’t expect to meet friends taking the other trail at the top!)
You’ll then return to the Visitor Centre via the Mountain Path – another 3 hours.
Ben Nevis Summit
Sorry to disappoint, but if you’re expecting a grand fanfare when you’ll finally hike to the top of Ben Nevis, you may be slightly disappointed!
After quite the climb, you’ll eventually reach the summit plateau (there’s no peak here per say) and may, or may not, be greeted by a view depending on your luck!
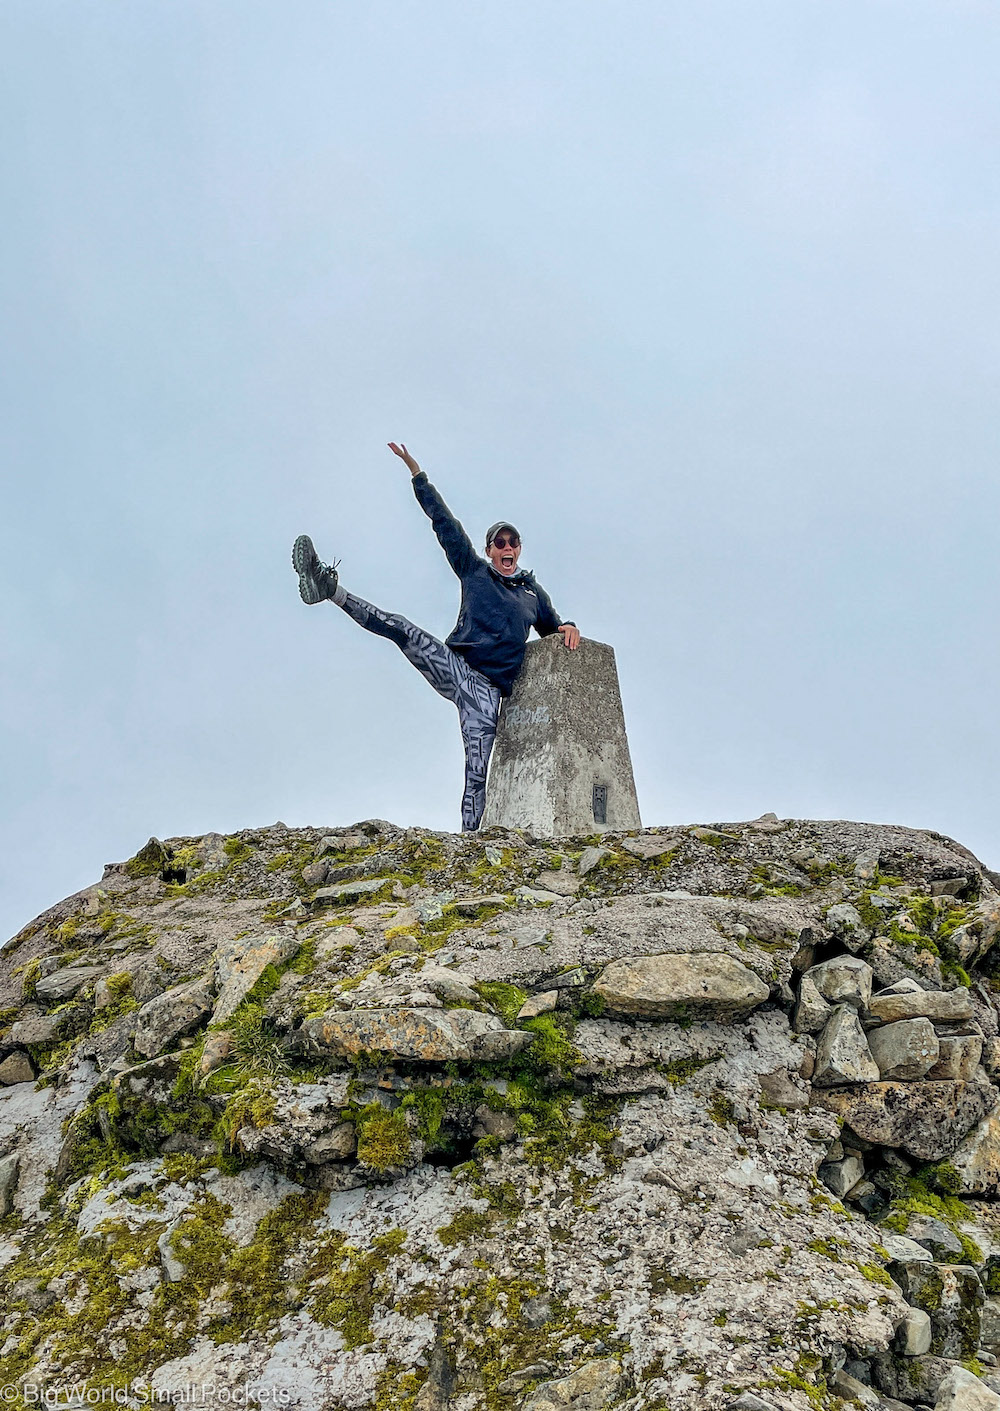
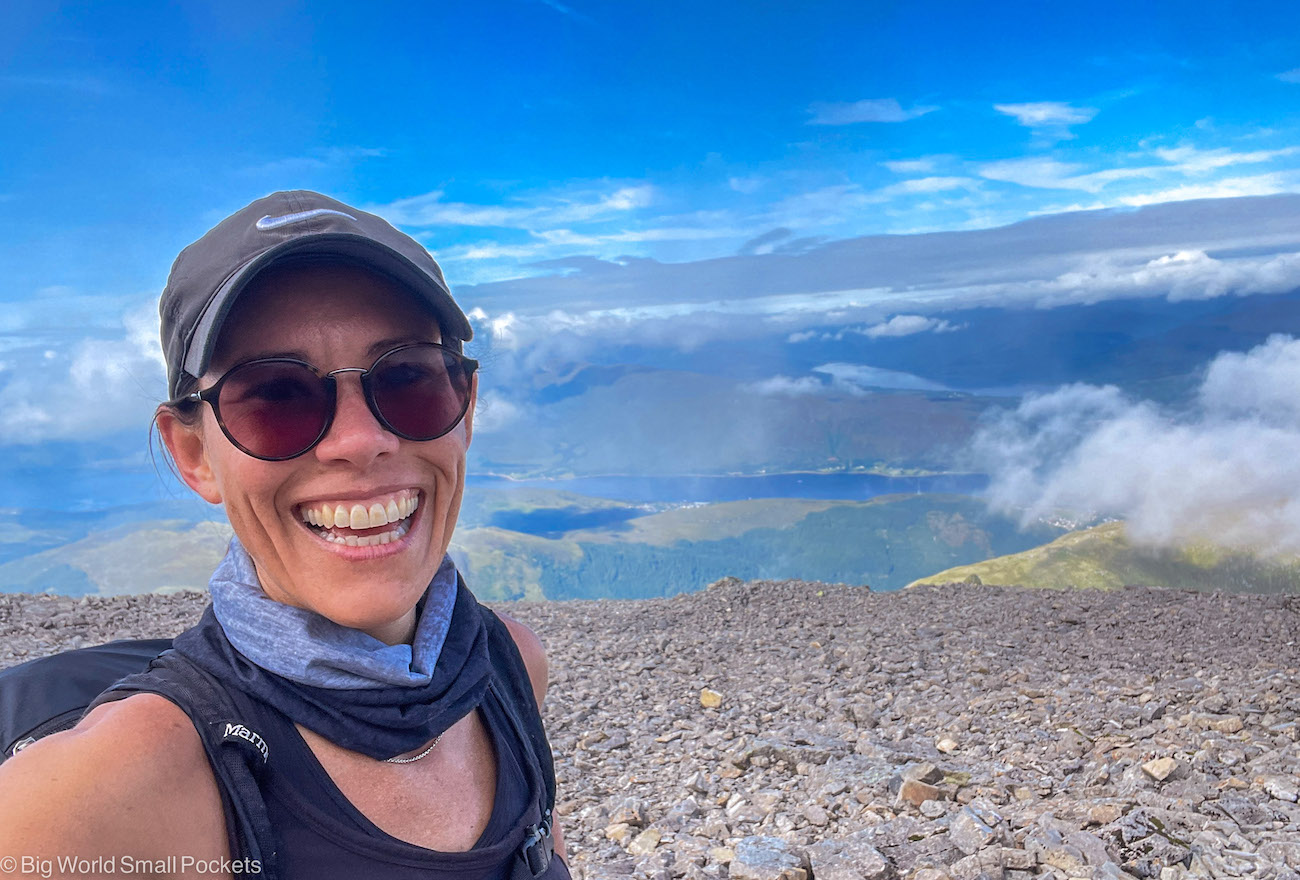
I was out of luck because, even though it was a stunning day and views had been great the whole ascent, the summit was shrouded in cloud and I couldn’t see a thing!
Such is life at 1435m and another reminder that conditions can change quickly up here.
The clouds also meant it was pretty chilly up at the summit (ok, so it’s always chilly up here) and it’s likely you’ll need to chuck on a few extra layers as soon as you get to the top and stop hiking.
At the Ben Nevis summit you’ll find a stone monument, which indicates your achievement and is the prime selfie spot!, as well as a little stone hut, which used to be an observatory.
Nothing to see in there now, but people like to walk the steps up and take a peek in anyway!
Otherwise, immerse yourself with the other picnic-ers and photographers up here and take it all in – you’re on the roof of the UK!
If it’s clear and you’re not late in the day, hanging around on the Ben Nevis summit, to really soak it all in, is definitely worth your time.
Just keep an eye on the weather, the daylight hours and the return journey duration.
Gear You’ll Need
And with all the weather conditions, visitor centre, access and route information out of the way, the last thing that remains for me to chat about is the gear you’ll need to climb Ben Nevis.
Like the weather, this should not be underestimated.
Here’s my list if you’re planning to hike up to the summit…
Hiking Boots or Shoes
Some people are happy with good hiking shoes, but personally I was glad of the ankle support my boots gave me.
I love my North Face Hedgehogs and def rate them as some of the top hiking boots around.
Get your hands on a pair here.
Backpack
You want a backpack large enough to carry your water, snacks, camera, phone, paper maps and extra layers, but I also suggest keeping it lightweight to make hiking Ben Nevis easier.
I love my Marmot Kompressor, which was the ideal for the job.
Activewear
I climbed Ben Nevis during the summer, when it was really warm at ground level, so active leggings, hiking socks, a singlet, a thin long-sleeved top and a thin windproof jacket was totally sufficient for my way up.
Once at the summit, I put on a merino layer, a thick fleece and a hat I had brought with me.
Note, I was still cold!
A packable down jacket would therefore also be a good idea in my opinion.
If you’re hiking in the cooler months, then you will absolutely need some decent warm gear, including merino base layers and a thick waterproof jacket.
In the summer, don’t forget a hat to keep the sun off your face and a buff.
Other Bits
Snacks, sufficient water, camera, phone, bug spray, sunglasses and sunscreen. will also be needed for your climb.
Don’t skimp on any of these items.
Travel Insurance for Scotland
World Nomads offers simple and flexible travel insurance. Buy at home or while travelling and claim online from anywhere in the world.
Alternatively, if you’re a long-term traveller, digital nomad or frequent remote worker seeking travel health cover, check out Safetywing’s Nomad Insurance policies.
SAVE THIS ARTICLE TO PINTEREST!
And there you have it, all you need to know about climbing Ben Nevis.
An absolute UK bucket list must, I can’t recommend tackling this hike enough, but please do your research and preparation accordingly.
Safety can’t be underestimated and you want to make sure this is an amazing adventure to remember… trust me!
Have you hiked Ben Nevis?
Have any advice to add to the above that could help a fellow traveller out?
Then please add into the comments section below….
I’d love to hear from you!

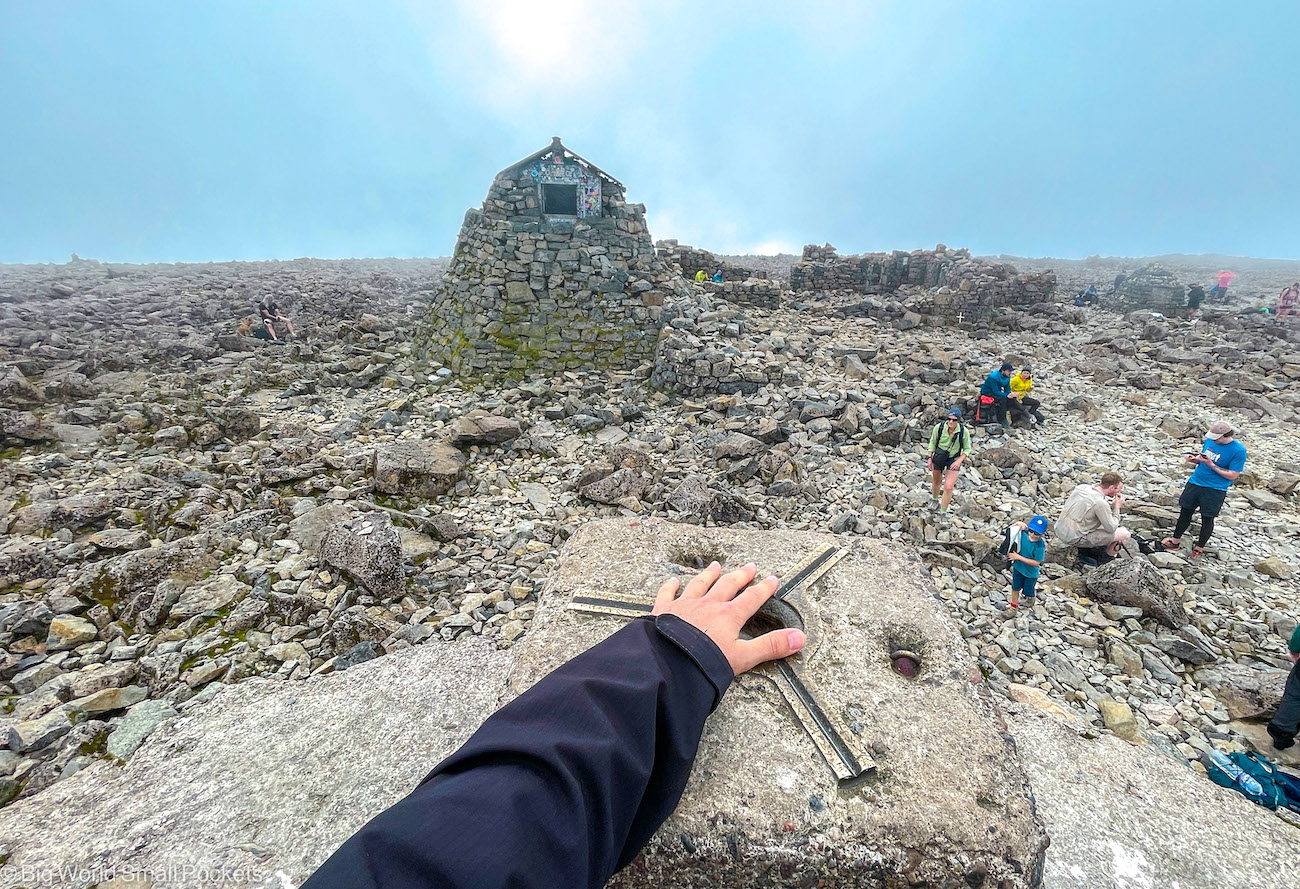

The monument you mention is in fact a triangulation (trig) point and the (brass) grooves on the top provided the mounting base for the theodolite used by Ordnance Survey to map the area (and the U.K.) The paper map which you undoubtedly carried in your sac being the result of such survey, on which the trig point is shown. A little bit of interesting history
Amazing Colin, thank you so much for sharing. I feel very well-informed now! Best wishes, Steph 🙂